The engine in it's protective cradle arrived ready to go, winch included.
The chain was attached and I applied a little pressure to determine if the pull looked right. Tim adjusted it and was happy with the angle which needed to line up with the engine mounts on the frame.
The bolts were loosened…
And off it came.
We preliminarily checked the alignment then backed things away to install a remote oil filter on the fire wall.
We installed the oil filter per the drawings provided and found it fit best in that position. It was a lot easier to install this before putting the engine in.
The original position of the oil filter on the back of the engine always made changing the oil a pain because of limited access and oil dripping down the back of the engine when removing the filter. Plus, the limited access meant you could only get on a short oil filter. This remote filter took care of those problems.
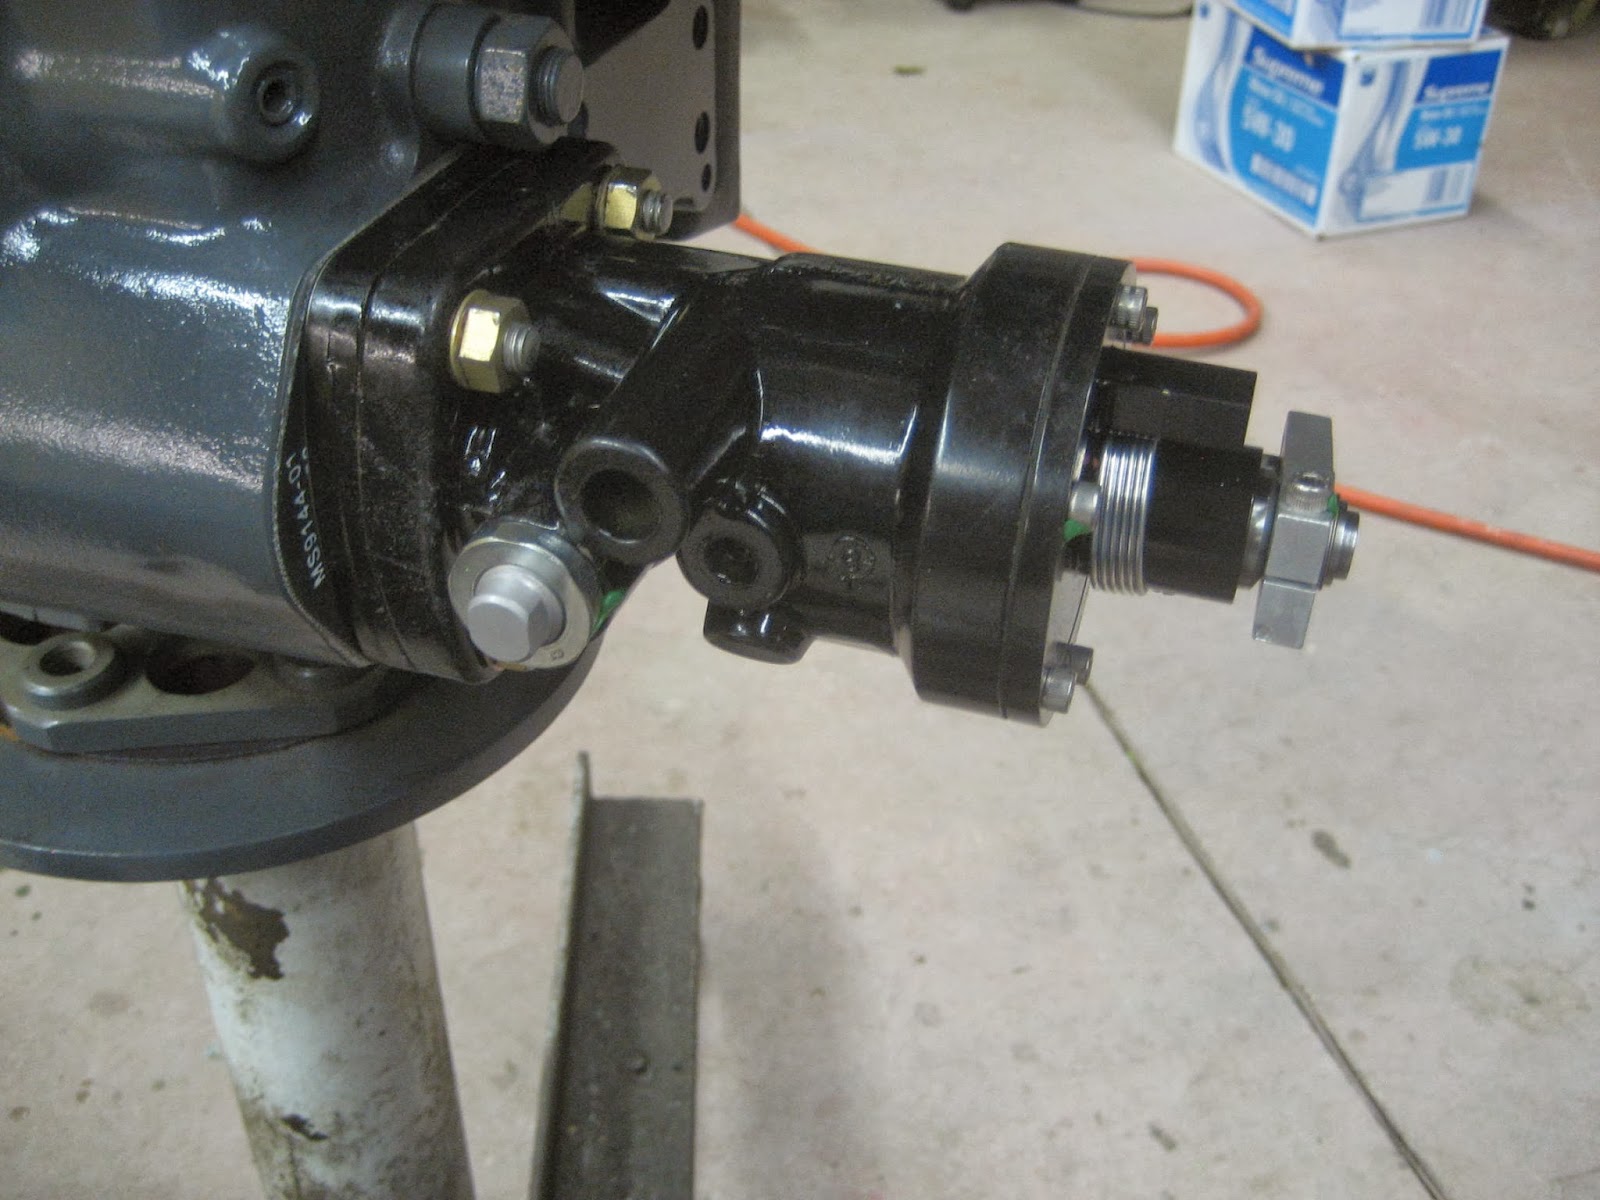
The remote oil filter installed on the fire wall.
Because the firewall is relatively thin and slightly flexible a back plate was included.
This time was for real. The trick was to get things lined up so the engine mounts and the bolts would slide to place. This took a little pushing, pulling, tugging and tapping.
New engine mounts that act as a connecting surface and absorb shocks from the engine to the airframe.
Those four bolts are all that hold the engine to the airframe. Doesn't seem like it could possibly work but it does. The fit of the mounts and torque of the bolts is really important though.
The engine mount, bolt, washers and nut.
There was a large heavy backing washer on the outboard side of each mount.
The nut has yet to be torqued. When it was there would be 1 1/2 to 3 threads exposed.
Tim and Ed McCleary, who was a great help, were tightening up the engine mount bolts.
The magnetos and wiring harness went on.
We had an annual to complete before I could test fly the plane. So while Tim and Ed worked on getting the engine installed I worked on some of the annual priorities. One was to replace the bolts at the top of the oleo struts on the main landing gear. These bolts are in a high stress area and have been know to bend or break, causing the gear to collapse and make for not a good day. Here I am holding the new bolts, washers and nuts. Cheap insurance is just to replace them.
The previous bolts on the airframe. The flexible black boots go around the top of the oleo strut and act as a seal to keep outside air and exhaust out.
After using the engine winch to lift the airframe and the wheel off the ground, I got on the outside and lifted the tire and oleo strut while Tim put the new blots in and then torqued them.
The old bolts showed some wear but no bending.
While the wheel was off the ground I took the opportunity to check and realign the tube inside the 26" Goodyear tires. When I installed these tires part of the 337 Field Approval was the condition that marks be made on the tire and rim for comparison to make sure the tire was not rotating on the rim. I was happy to see, as I had seen, that no rotation had occurred. But just to get things as centered as possible I deflated the tubes and re-inflated them.
This was good practice just in case I got a flat tire in the field.
I also adjusted the tension on the wheel bearing. I had previously installed a quick disconnect nut on the axle and had modified a hemostat to remove the retaining spring.
This hemostat worked very well.
I also found an old but thin 1 5/8 inch closed end wrench that I carry in the plane to remove the nut. It also was $2.95. Nothing on an airplane is $2.95 except this. I had to bend the end in a vise to get it to fit on the nut. The right tool for the job makes the job much easier.
By now it was getting late in the day and we were all cold and tired. But we really wanted to get the propeller on. I had purchased two alternator belts and one was to be installed on the engine and tied in place in case the other belt failed. If you don't do this you have to remove the propeller to replace the alternator belt and in the field that would be a big problem.
When Tim put the flywheel on and tried to put the alternator belt on he couldn't get it over the flywheel. We both had a bad feeling. I was meticulous about checking parts when they arrived but I missed something on these.
I had ordered the correct belts and the last three digits, which indicate length, were 376.
What we got was 367 which was too short. Oh well, shut down for now. We were tired anyway, so tomorrow morning we would try to find another belt locally.
As the end approached it was easy to get impatient.
If we get that belt, tomorrow maybe it will start.