
The matched connecting rods and pistons were ready to go in next.

Some of the masking was removed after the paint to allow the connecting rods and then cylinders to be assembled on to the crankshaft.

The engine stand that Tim designed and built worked great. It allowed easy access to the engine and rotated to move the whole internal assembly.

The shiny surfaces on the crankshaft were where the connecting rods would attach.

Another critical bolt and nut combination. This is an absolute step that deserves no distractions.

A connecting rod being torqued. Tim re-torqued all of these nuts 3 times. It is always interesting how re-torquing will typically get a little more movement in a thread due to the metal stretching.

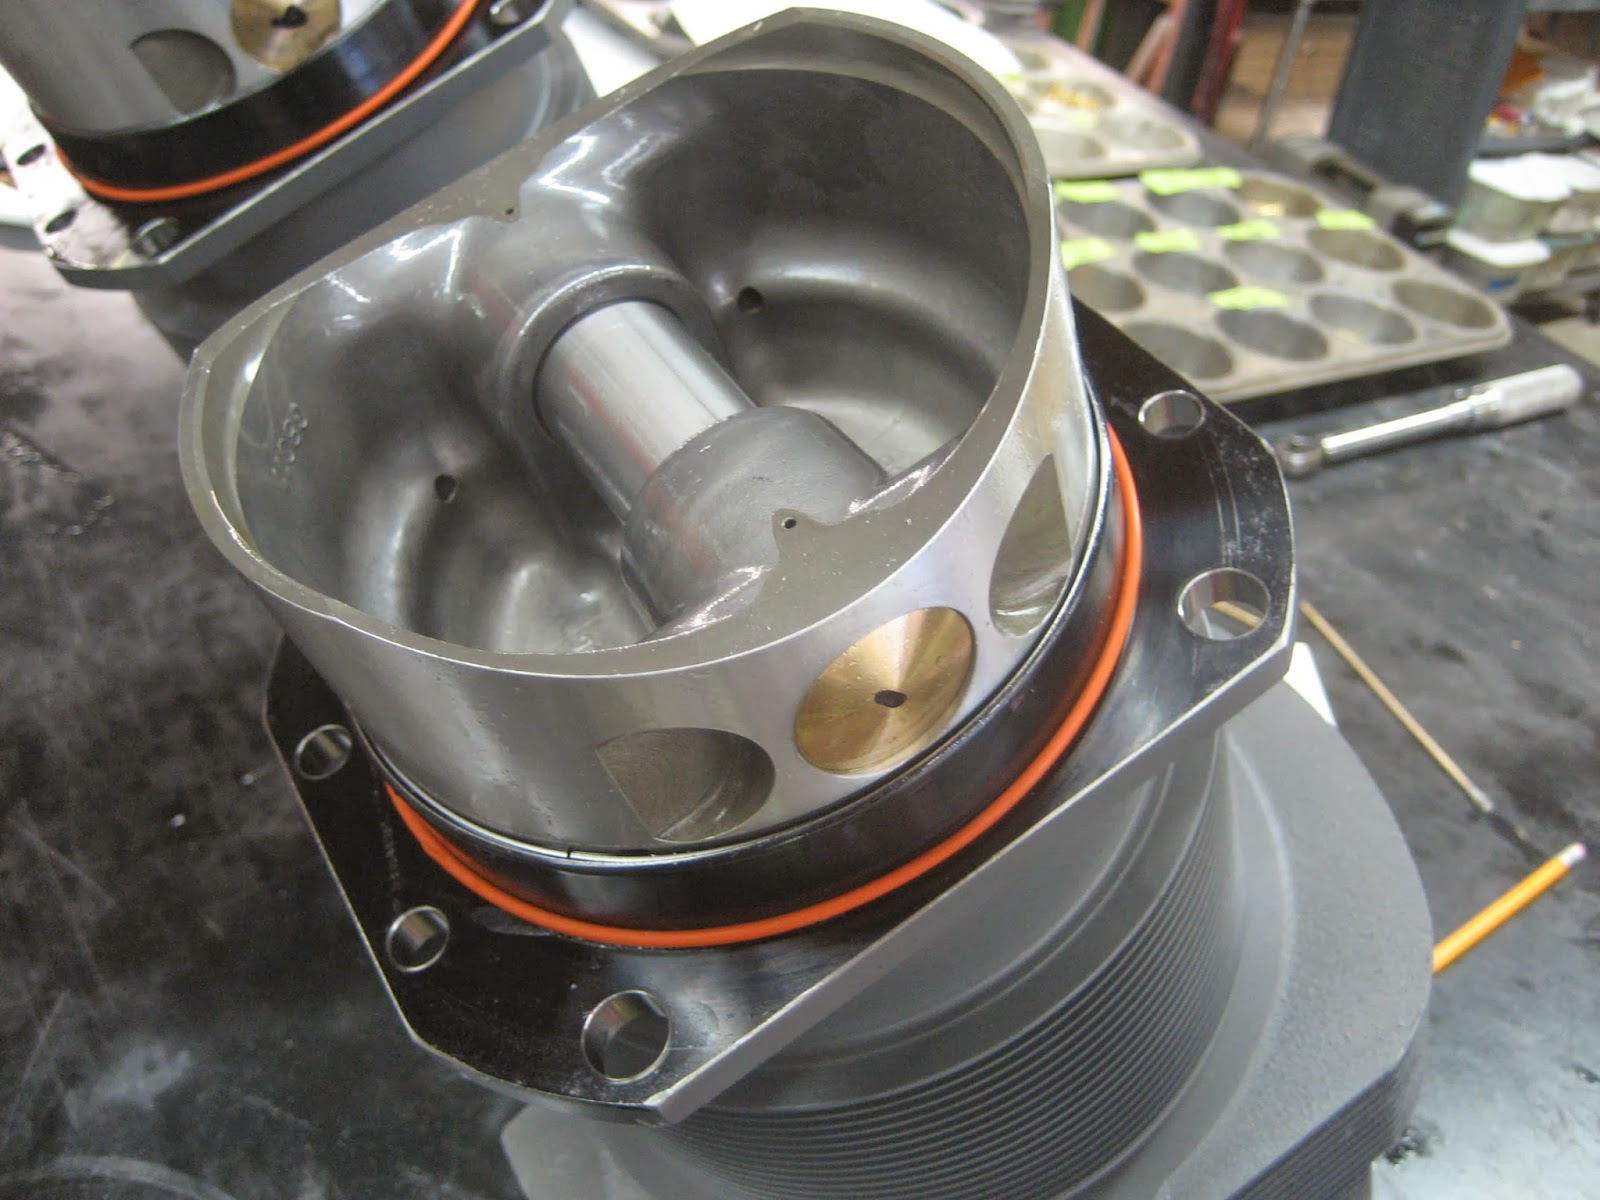
Inside of each piston is the pin that acts as a connector to the connecting rod. The fit on these are very close and pushing the pin through the opening in the piston produces some hydraulic resistance.

The pistons matched to their respective cylinders with the rings installed. The rings would need to be compressed with a clamp to slide them inside of the cylinder walls. The red silicone gasket forms a seal between the base of the cylinder and the crankcase.

The rings were compressed on the piston.

While the rings were compressed and the piston was inserted to place.
The rings compressed inside of the cylinder walls the cylinder and piston assembly was ready to go on the engine.

A little more lubricant for the connecting rod and piston wrist pin.

Once things were lined up the piston pin with the cap was slid back into place through the connecting rod.

The cap was just slightly below the surface of the piston.

Once all of the cylinders were on it was time to torque all of the nuts and bolts.

All of the cylinders torqued.

Next was to get the rocker arms on but before that could be done the proper length of push rod needed to be selected.

All of the rocker arms were lubricated and set aside.


The hydraulic tappet body which goes inside of the tappet and acts a compensator for length discrepancies in the push rod assembly.

The socket fit between the hydraulic tappet and the push rod.

Push rod tubes with the outboard red silicone seal that slides as the cylinder expands and contracts.

The inboard green silicone seal is where leaks sometimes can develop, but the outboard seal is the one that needs to slide with expansion and contraction.

The push rods are in about 4 different lengths and must be matched to give a consistent and within tolerance clearance.

We were looking at the dry tappet clearance and chose appropriately.

After the clearances were determined the push rods were filled with oil to give them immediate lubrication on the first start up.

Once the push rods were all installed the rocker arm pins needed to go in.
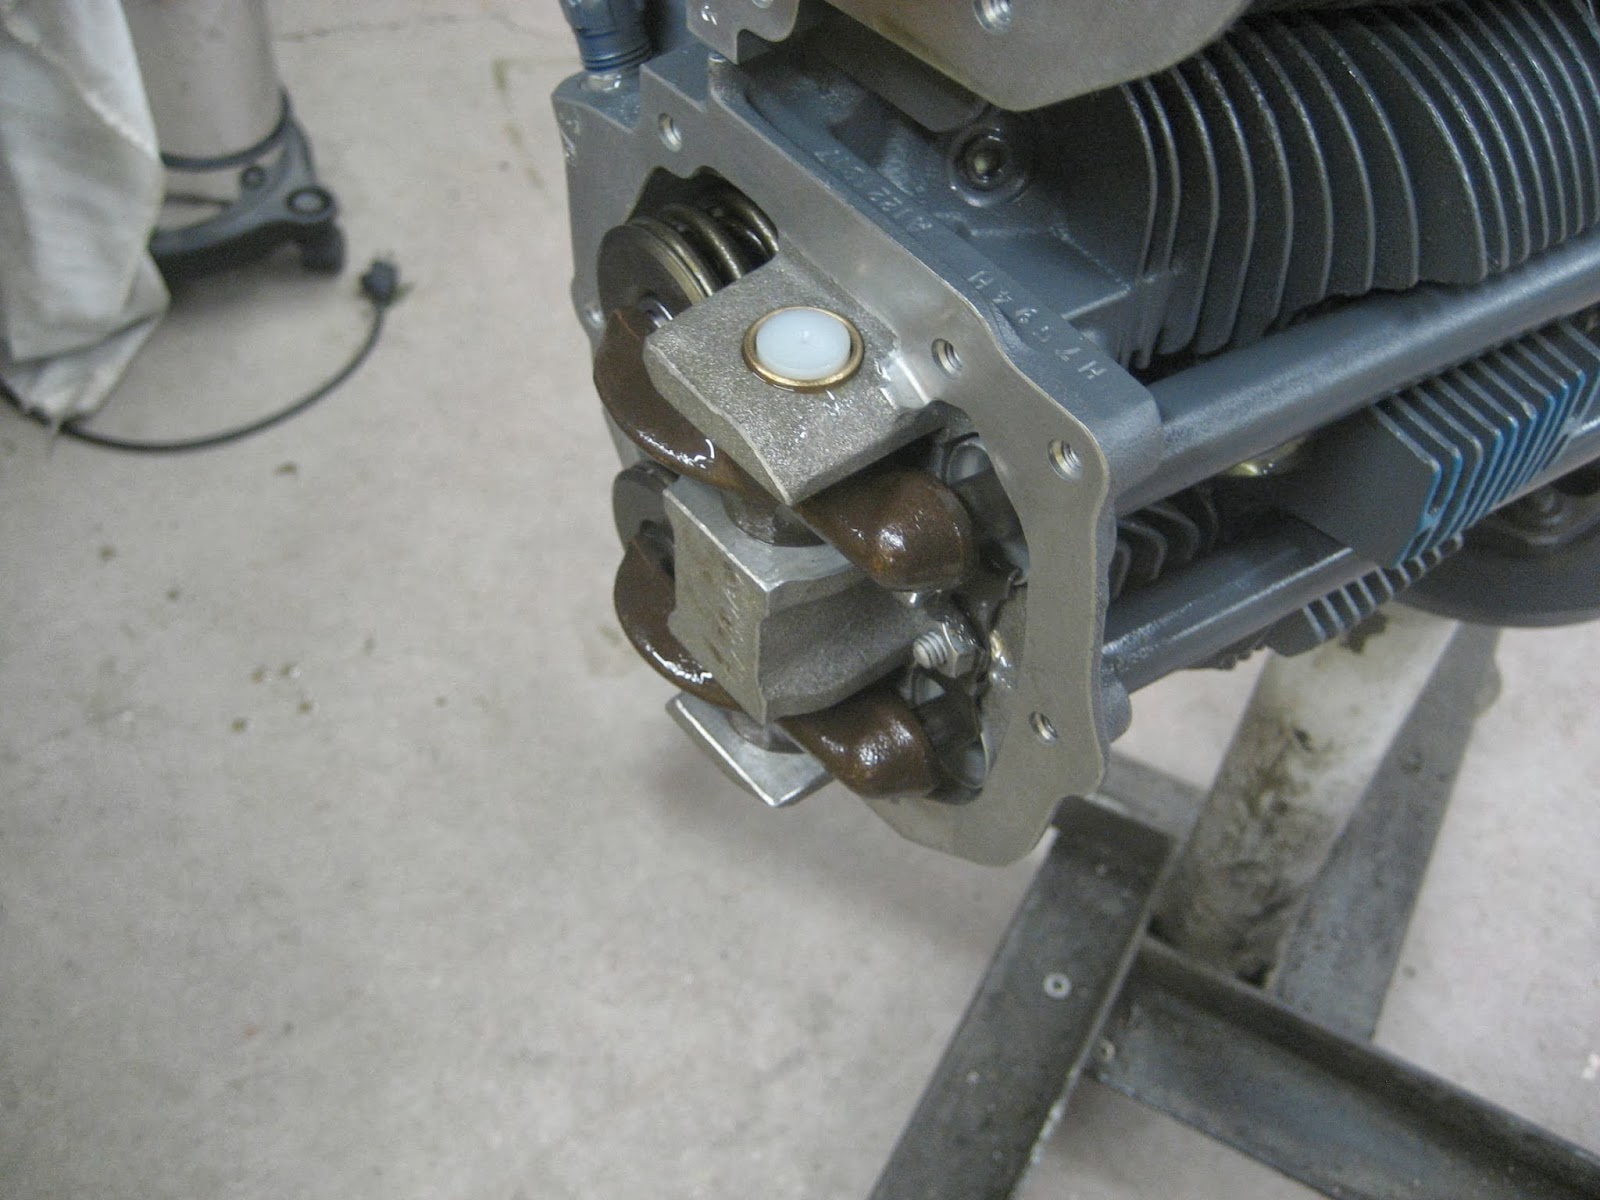
The plastic cap, similar to the brass cap on the piston went on the ends of the pins.

The completed assembly ready for the valve covers.

There were many challenging times during this overhaul and here was one of them. We didn't realize that the Lycoming cylinder kit did not come with the rocker arm pins and caps (ECI and Superior do). So I called back to where we got all of the parts (Air Power http://www.airpowerinc.com) and purchased Superior Airparts pins and caps mainly because they were 50% less than Lycomings and Tim had always found them to work equally well. When it arrived three days later I was disappointed to find the new parts they shipped were corroded. I saw it early enough that I called them on a Thursday and they reshipped overnight (at their expense) Lycoming pins and caps, so by Friday afternoon we had the replacement parts and could keep the project moving forward. Evidently they don't usually look at parts if they come from a manufacturer if they are boxed and just ship as is. A little frustrating.

Internal baffles were installed.

Cadnium plated intake tubes and new gaskets.

Intake tubes installed with new hoses along with the valve oil return lines.

We used the previous stainless steel valve covers that were from ECI even though cylinders are Lycoming.
No comments:
Post a Comment